Navigation - Extending
This section covers how to extend the Navigation module with custom functionality. This includes creating shortcuts to specific objects using GoTo and adding custom icons to the navigation menu.
Before getting started, make sure you are familiar with the basics of the Navigation module. If not, see Navigation — Get started.
GoTo
The GoTo function allows linking directly to a specific object, making it possible to create shortcuts that bring the user to the view where that object is located. When reached via GoTo, the object is highlighted, making it easy to find even in a complex view. If the object exists in multiple views, a popup will appear showing all available locations.
To use GoTo, apply the following script to a button's onClick action, replacing
YOUR_OBJECT.NAME with the name of the target object:
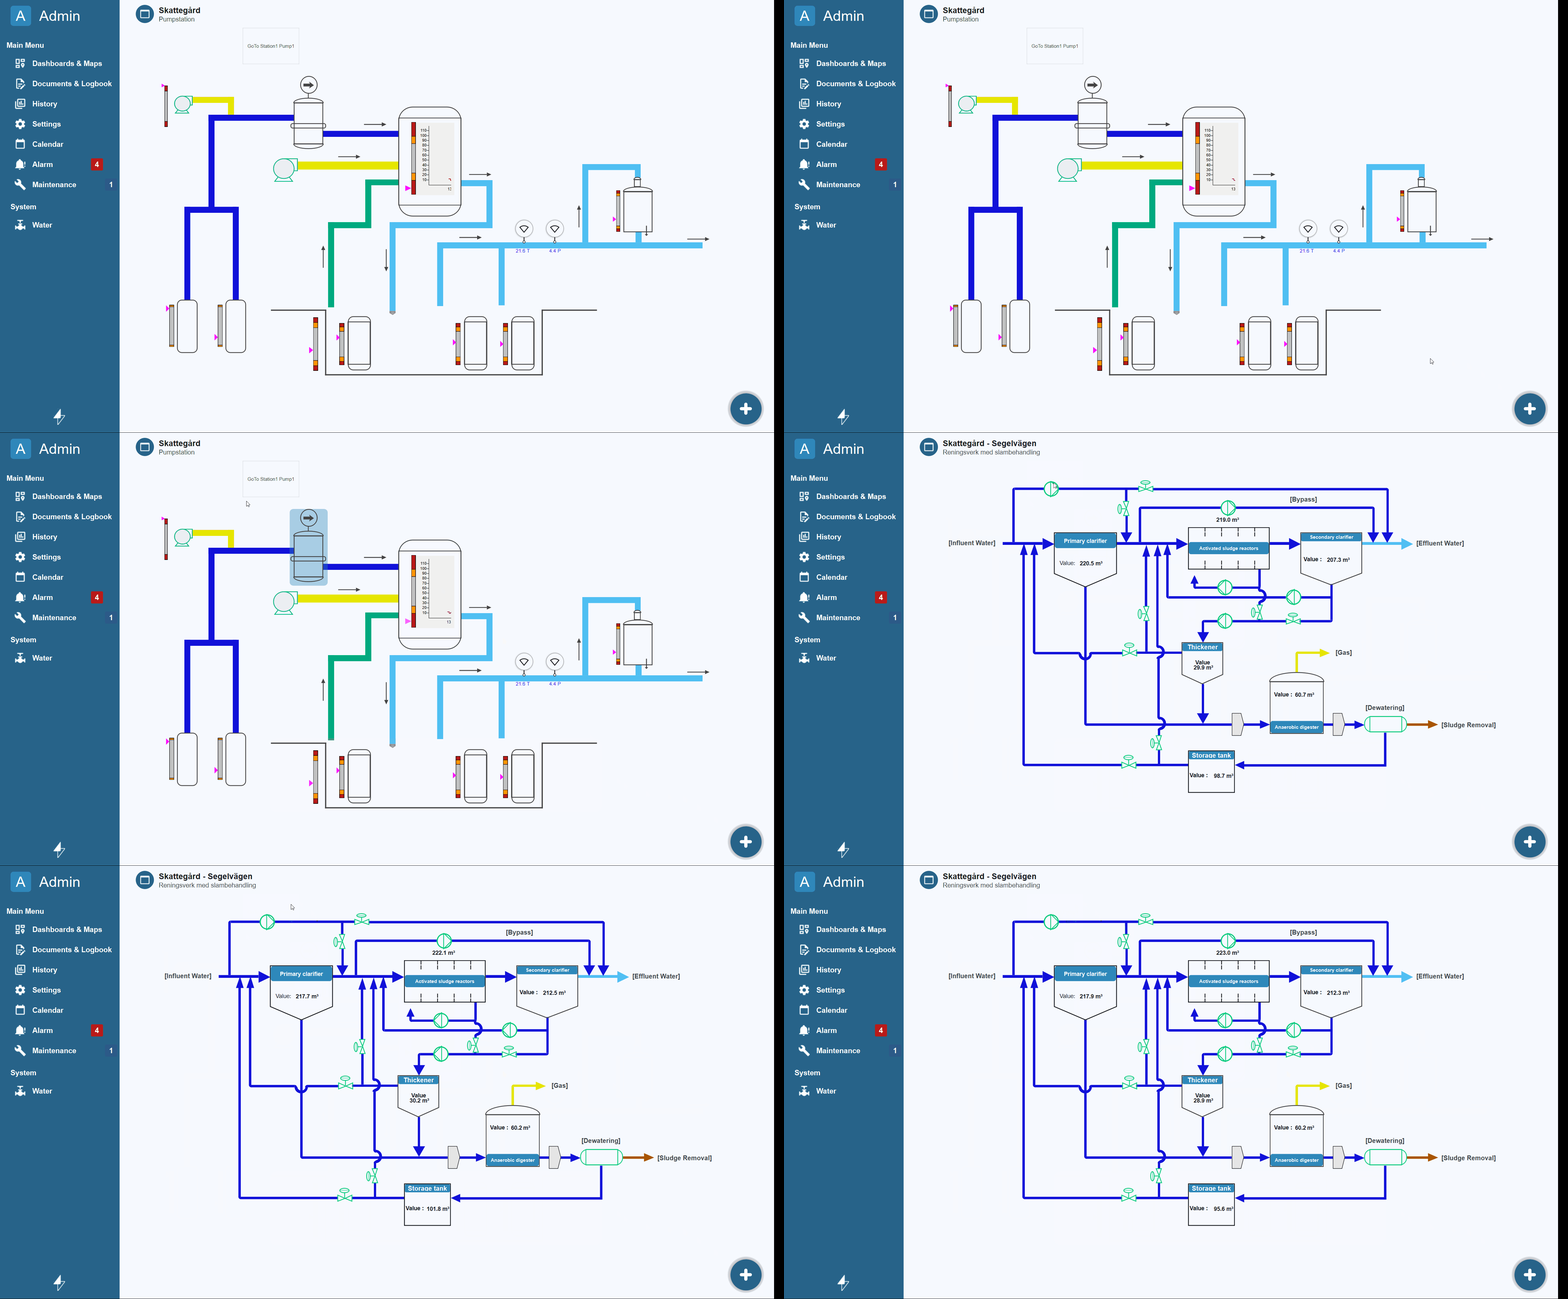
In the example below, the goTo() function is applied to a button's onClick action
with the target object MB.AS01.Station2_GT43:
GoTo in Alarm Groups
GoTo can also be integrated into Alarm Group and the AlarmList, allowing users to immediately navigate to the object that triggered an alarm and take action.
To enable GoTo for alarms, follow these steps:
- In WideQuick® Designer, open the Alarm Group properties and navigate to Measures.
-
Click the circle next to Script to enable the script action and enter the following:
-
Add a Measure state by clicking Add on the same page. Enter the desired display text and select a colour.
- In the Alarm object, navigate to Alarm Columns and enable Use Custom Alarm Columns.
- Select the Measure category — pressing this column for a specific alarm will trigger GoTo and navigate to the Workview where that alarm originated.

Note
In order to use the Goto function on Alarms, the script scAlarmFinder is needed
Info
On the web client, a Measure script can only reach the alarm and view
objects, not the script libraries. The Measure therefore calls a function that
the view showing the alarm list provides. See
GoTo in custom alarm views.
For an alarm from a connected remote system, GoTo opens that system in
WideQuick® Remote and navigates to the alarm there. This requires scRemoteSystems,
and the remote system must also support it. The user logs in to the remote system in the
WideQuick® Remote window.
GoTo in custom alarm views
The views delivered with the framework already provide view.goToCurrentAlarm():
Alarm - List, the alarm popup, the map and the alarm list widgets on the dashboard.
A custom view with an Alarm object needs the following in the view's Load script. Replace Alarm1 with the name of the view's Alarm object.
var gotoList = this.view.Alarm1;
var gotoViewName = this.view.name;
this.view.goToCurrentAlarm = function () {
    scAlarmFinder.goToAlarm(gotoList.nameForCurrentAlarm, gotoViewName);
};
Custom navigation icons
This section covers how to implement custom navigation icons connected to specific views. The implementation process consists of two steps:
- Importing and setting up the SVG
- Connecting the SVG to a Workview identifier
Importing and configuring the SVG
First, import your SVG icon. It is recommended to have two versions, one for dark mode and one for light mode. This ensures the icon remains visible regardless of the user's theme preference. Name and place the files as follows:
YourSvg-gray.svg— for the light themeYourSvg-white.svg— for the dark theme
Both files should be placed in Images/Material_Icons/.
If the application is intended to run through the web client, the SVG must have a
width and height definition. Without these, the icon will not render in the web
client. Verify this by opening the SVG in a text editor and confirming they are defined.
If not, add them to the XML structure:
With the SVG files placed in the correct folder and their dimensions verified, proceed to the next step.
Connecting the SVG
To connect an SVG to a folder or Workview, add an additional else if block to the
selectImage() function in the scSubNav script, which can be found under
Scripts → scSubNav in the project tree. Locate the selectImage() function and add
the new else if block before the final else block, which handles the default icon
fallback. The example below shows how to match the identifier solarcell to a solar
panel icon:
else if (type === 'solarcell' || type === 'solar' || type === 'solarpanel' || type === 'solar park') {
    return base + 'solar-power' + s;
}
Any Workview whose name contains solarcell, solar, solarpanel, or
solar park will be assigned the corresponding icon. The scSubNav script
automatically converts Workview names to lowercase before comparing, so
capitalisation is not an issue as long as the identifier words in the
selectImage() function are lowercase. The base variable holds the path to the
icon folder and s holds the theme suffix, which together form the full path to
the correct SVG file. If no identifier matches, the final else block assigns a
default icon.